Details Details: Fringe!

So while looking through Pinterest (which I do a lot these days haha), I started really liking  FRINGE. It’s a type of detail that I didn’t pay attention to much before; particularly because it reminded me of Kindergarten projects. But while looking through images, I fell in love. Fringes can make an event look like its going to be a fiesta! Haha, I think it would be a fun detail to add to any wedding, whether it be as a photo backdrop, or for your save the date invitations.

Nice and simple. DIY save the date. Greenweddingshoes.com

Nice and simple. DIY save the date. Greenweddingshoes.com

They provide the DIY directions on their website. Great save-the-date idea if you’re working with a lower budget!

Fringe Wedding Dress. Ann Taylor Weddings.

Fringe Wedding Dress. Ann Taylor Weddings.

 I like this dress because it’s playful and graceful at the same time.

Fringe Photo Backdrop. Marthastewartweddings.com. Adorable.

Fringe Photo Backdrop. Marthastewartweddings.com. Adorable.

Fringe Cake. Martha Stewart weddings.com. Doesn't it look like a big present? :)

Fringe Cake. Martha Stewart weddings.com. Doesn’t it look like a big present? 🙂

Dress for the reception? Pretty darn cute. Anntaylor.com

Dress for the reception? Pretty darn cute. Anntaylor.com

You can swish your dress all night! 😀

Marthastewartweddings. Fringe=festive!

Marthastewartweddings. Fringe=festive!

emmalinebride.com. Fringe balloons.

emmalinebride.com. Fringe balloons.

There’s definitely a playful element that fringe brings into a wedding or event. I definitely want to try decorating with fringe the next time I get the chance. What do you guys think about the fringe? 🙂

<3,

Hannah


Want to become an Event Designer?

whimsical-outdoor-wedding-reception-decor.original

As I’m trying to get my foot into the event planning/designing field, I’m beginning to realize that its A LOT harder than I thought. There’s so much that I don’t know, and I have no idea where to begin! I’ve been searching for internships, just to get some type of experience. Hopefully after I get an experience, I can get a job in the event planning/designing field. That is the goal for now.

While doing research, I came across a great website called plannerslounge.com. The creator, Debbie, offers some great articles for newbies in the field! This is the article that I wanted to share with you guys: http://www.plannerslounge.com/become-an-event-designer/. Go check out the website if you’re interested in event planning and design! Here’s the article written by Debbie:

How To Become and Event Designer:

Event design is such a relative term. What I can do versus what you can do versus what your competitors can do versus what Preston Bailey can do are so completely different.

Different styles, different ideas, different clients, different visions, different strengths, different ideal budgets.

Event design revolves around creativity. Creativity is a muscle. Just like the muscles in your body, if they are not used frequently, they are weak. Your creativity muscle needs exercise. It needs perspiration, discipline, hard work and exposure to things that inspire you.

The more you use your creativity muscle, the stronger it gets.

If you tell yourself that you are only good at timelines and logistics, then you will always only be good at timelines and logistics. If you start working out your creativity muscle, you can become proficient (and even great) at design. You may not be able to do what well-known event designers do, but you can become good at recommending color palettes, creating great inspiration boards, seeing the central elements that your clients like when they send you 20 photos and knowing when certain details just won’t look right with the rest of the wedding or event.

The most important thing to remember about event design is that there is no right or wrong. Your style and ideas will work for certain clients but not for others. This is true for anyone who designs – event designers, interior designers, party stylists, fashion designers.

Here are 6 ways to start working out your creativity muscle:

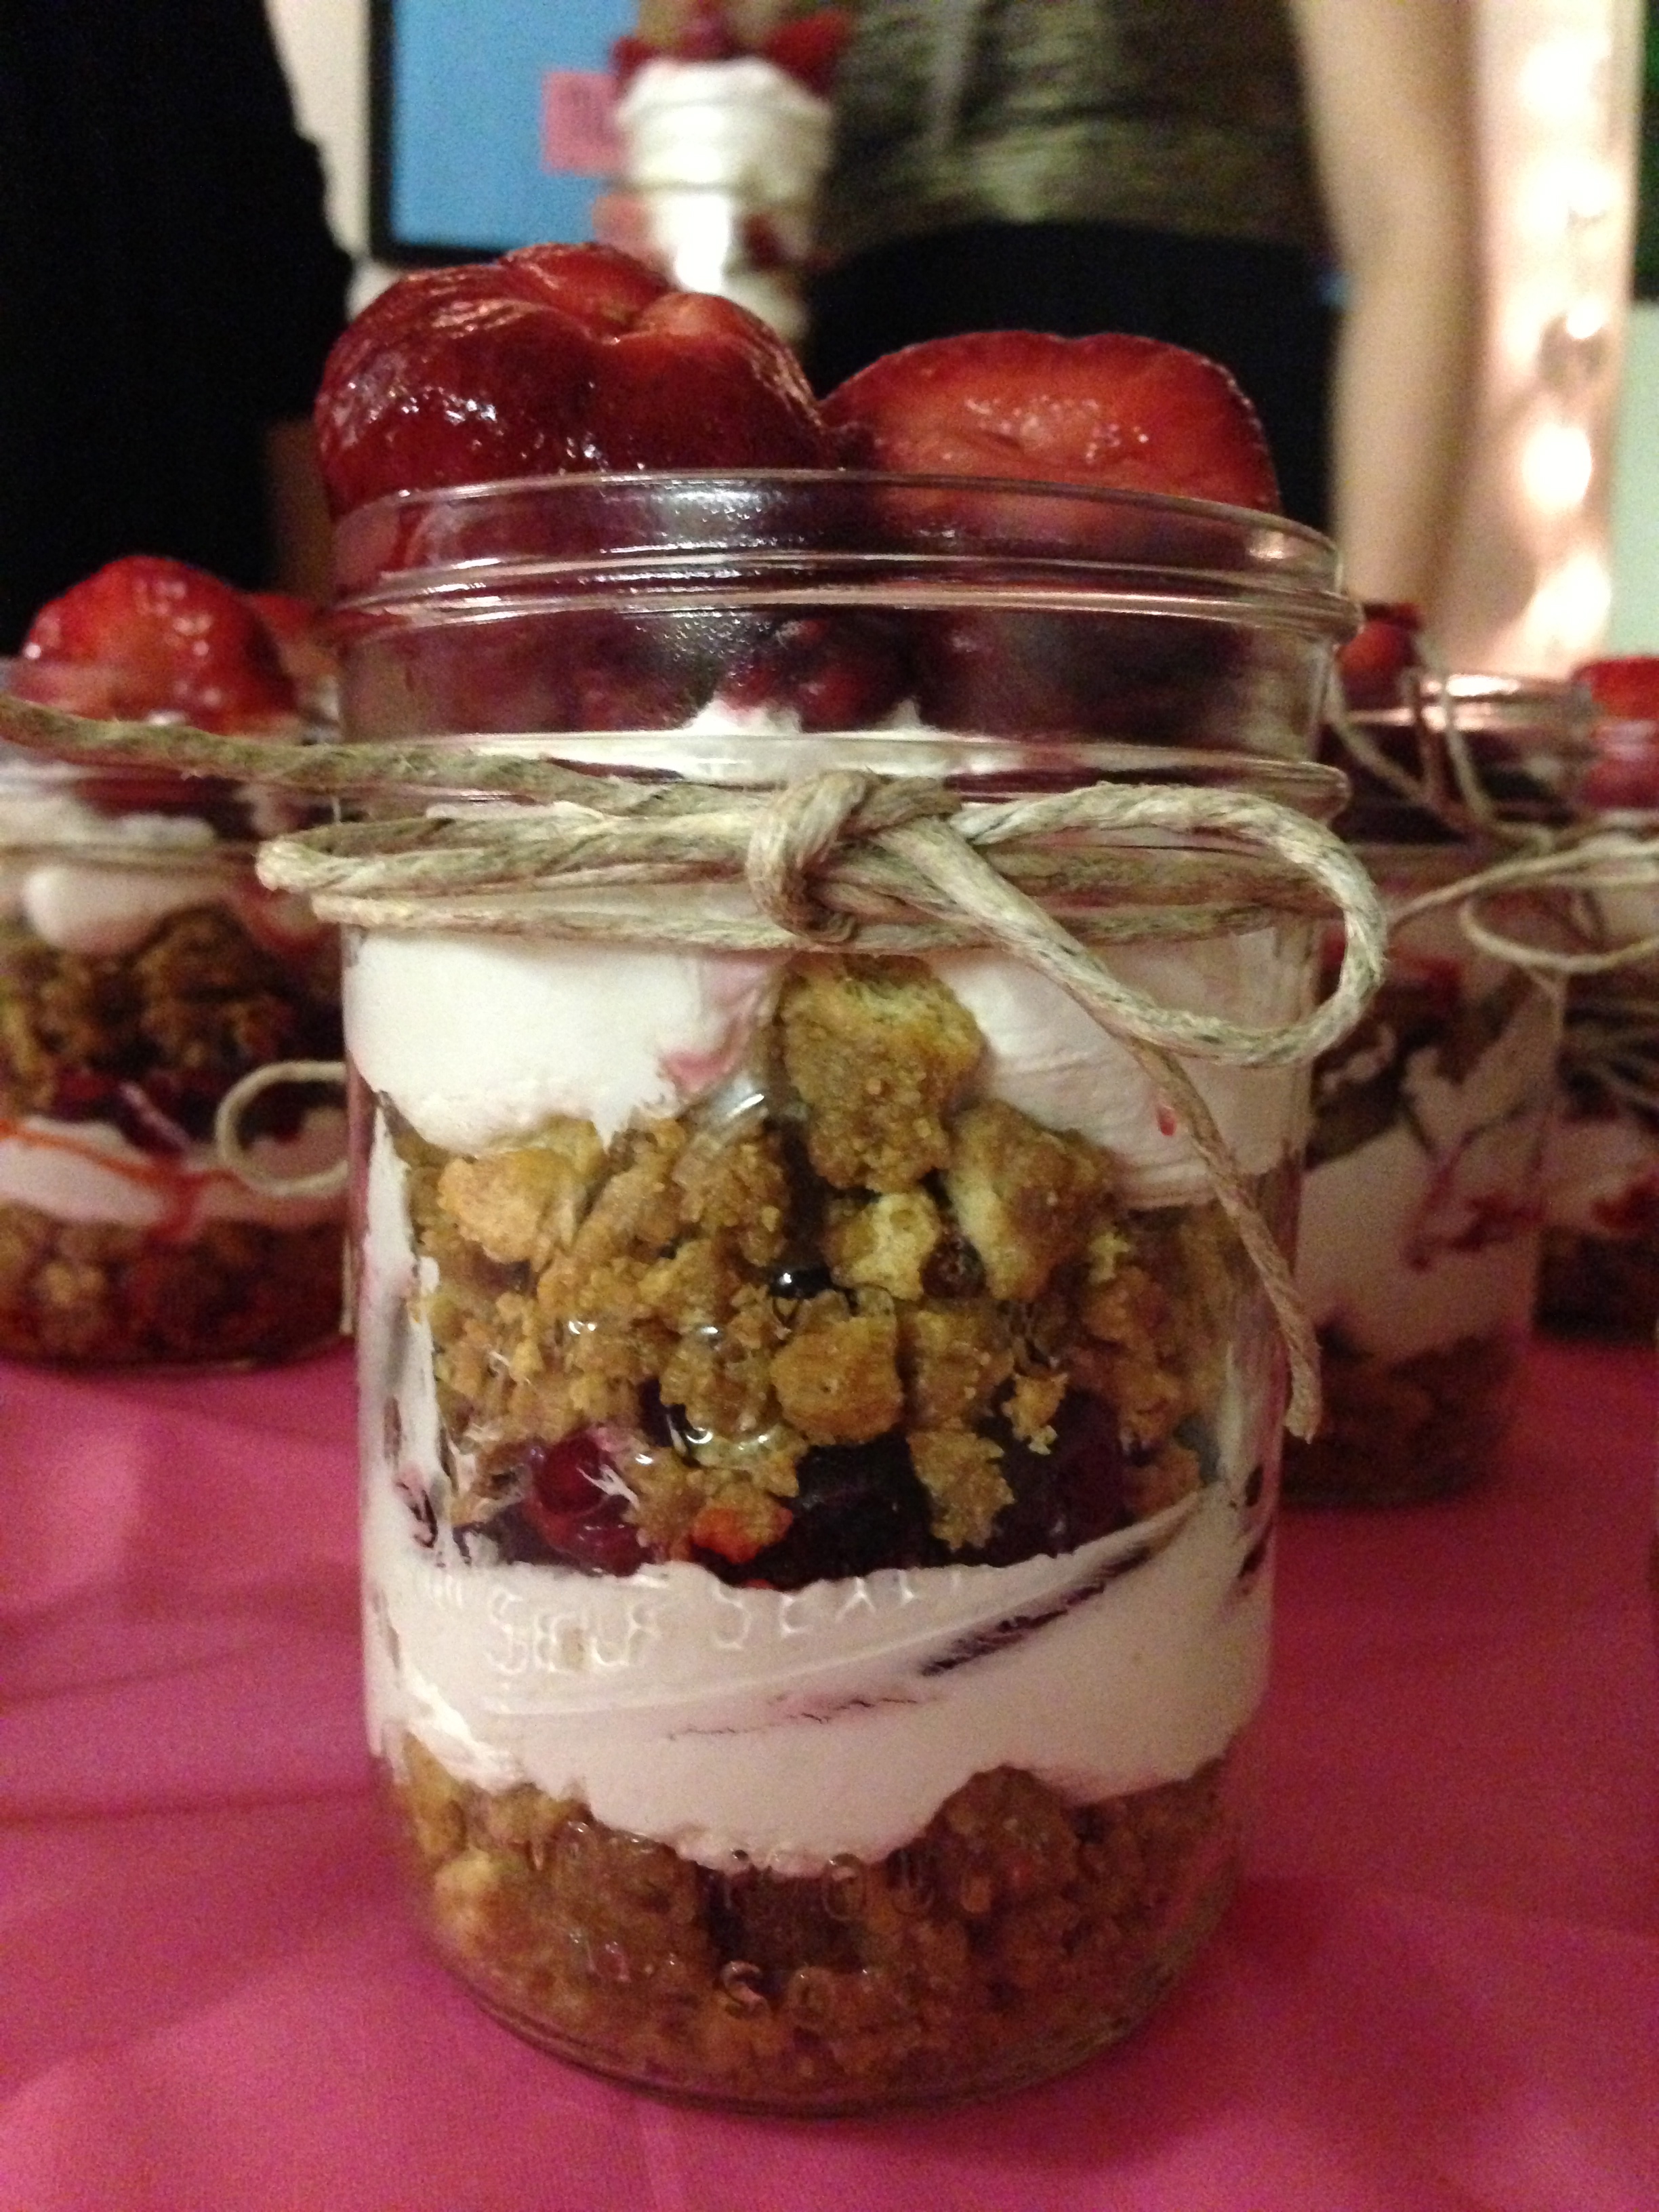
1. On every holiday (including July 4th and Halloween), create a table display at your home. Use linens, items from the party store, props, desserts, plates (paper or real) and food to create a table display. Change up some of the elements, set different place settings and take photos of each setup so you can evaluate what combination looked best. Getting your hands and mind working together in this way is like pumping iron at the gym for your creativity muscle.

2. Do a styled photo shoot.  Even if you are just starting out as a planner, you can work with other vendors to design a wedding table complete with linens, china, glassware, flowers, stationery, favors and other details.  Many photo shoots are very complex with models, cakes and decor but you can start out simple with just a table design until you feel more comfortable and your creativity muscle and confidence get stronger.

3. Read magazines, design books and blogs that feature parties, events and weddings. Some of my favorite blogs are HWTMStyle Me PrettyLandlocked BrideWedding Chicks andPizzazzerie. When you look through the photos and featured events, really notice the details. Notice how the colors go together, notice how the details are carried out through the whole event, notice how you could use some of the ideas for events you are currently planning. Making yourself aware of so many details and ideas will fuel your creativity and expand your mind to what is possible.

4. Start noticing creative details at restaurants, networking events and in stores. You can find a whole lot of inspiration and ideas just by browsing through Pier One, Pottery Barn or at your favorite restaurant.

5. Start noticing atmospheres. Next time you are out to dinner, notice as many things as you can about the restaurant. What kind of lighting do they have, what is the background music, what kind of china do they use, what are the chairs like, what is the appearance of the menu. This helps you see and learn how many different details work together to create the entire atmosphere which is the basis of event design.

6. Try out your skills with clients. You can start small by sharing your opinion about a specific detail your clients are considering for their event. Maybe you think the chairs they are renting aren’t quite the right style or that a slightly different shade of linen would look better. Share your thoughts. Being confident enough in your own style and ideas is the best workout for your creativity muscle and is often the first step to growing your design skills.

When working out your creativity muscle, you may not notice day-to-day or week-to-week improvements (much like working out your body at the gym), however in time (over a few months and over a few years), you will notice a significant increase in the strength of this muscle and your ability to design events.  Even if your event design skills go from a “1″ to a “5″ on the scale of experience and talent, there are potential clients who are at “0″ and will gladly pay for your level 5 skills.

Please “like” this post and share it if it was valuable to you!

Photo credit: Studio JK

I guess the biggest thing I took from this article is….STUDY and BE PROACTIVE! Reading this, I realized that it’s simply not enough to have an aesthetic eye– you need to know what works. You need to know exactly what you are doing. And this comes with practice. So I guess its time for me to start practicing!

10 Things to look for in a Wedding Photographer!

Hi Everyone!
My good friend, Margarette Sia, is an up and coming wedding photographer; and I asked her to help me out with today’s post! 🙂 You can check her out on her website: margarettesia.com! She’s done several weddings and engagement photo shoots, so I’d thought it be fun to ask her “what are the top 10 things you should look for in a wedding photographer?” I hope this helps you bride-to-be’s!
10 Things to Look for in a Wedding Photographer & Do Once You’ve Found One!
  1. Are their collections within your budget? Always know your budget, and always know how much a photographer charges before you invest too much time into talking with them–this saves you time and also helps you not get too attached to a photographer that might be out of budget! They should have it on their website, and if not, make sure to ask for it in an email! Make sure that their price also accommodates how long you would like them to cover your wedding! Compare their collections!
  2. A photographer who fits your style. How a photographer edits their photos and how they angle most of their shots consists of their style. Some are more traditional, others are more dramatic, and some are more artsy and angled. Other than the price, and the personality of a photographer, their style is extremely important and it’s what differentiates them from other photographers! Be sure to look at their portfolio and try to envision how their style of photographs would work with your wedding theme! Some examples of different styles may be: edgy and bold (high contrast, darkened images), portraiture (very posed and proper), documentary (more candid and unposed), vintage (blue-tint or bright, think hipster), etc.
  3. What type of wedding coverage do they provide? Definitely take time to look at if the photographer takes pre-wedding/getting ready photos, or “first-look” shots, or if they cover the dance floor for at least some time! What photos are you looking for? If they don’t take pre-wedding or getting ready photos and you would really appreciate those, talk to them and see if they do it, and if not, if that’s important to you, find another one! See what services they provide during a wedding and see if it fits with what you find important in being captured for your big day!
  4. Look at their post-production details! How long do they usually take to edit and when do you want them? How will they be given to you? Will they be printed? Will it be given to you by CD, flashdrive, or will they downloaded? Will they be High Resolution? These are things to consider and work out and ask while you’re looking.
  5. Look for a wedding photographer with good communication. Like with most things in life and in relationships with others, communication is always key. Once you have contacted a photographer, see how well they are at communicating with timeliness! As wedding times get closer, you will need a photographer who will be good at communicating and responding to make sure everything is set for your big day!
  6. Set up interviews. Set up a meeting with photographers to get to know them better and to also ask to view full albums if you can, and ask other questions that you might have in person. This is also helpful to seeing how they work and how you are able to work with them! Set up a couple of interviews with your top three to four photographers that you have found and be ready to discuss your venue, wedding style and how you envision your photos to be taken.
  7. Look for a photographer who you get along with! I haven’t been married yet, but as a photographer, I am certain that I would definitely want a photographer I could get along with and talk with for my wedding. This person will be capturing a momentous day for you in your life and it’s important to get along with them during the process! You don’t need to be best friends (if you are, that is AWESOME & I’m all in for being good friends with the photographer), but to at least enjoy working with them is something that is good for both the photographer and the bride and groom! 🙂 Most of the time, a photographer at least has a second shooter. Or if you are working with a larger photography company, they may have different photographers. Get to know and confirm who the photographers are and make good communication with them to make sure you and the photographers are on the same page.
  8. Read the contract. Understand what liabilities the photographer has and what rights you have with the photos BEFORE you sign the contract. This seems easy enough, but I’ve seen many people just sign paperwork without taking a glance at what they’re signing for–in fact, I’ve been guilty of this. But in this case, be sure to read it and understand it! This can help clear things up and assure that there is no sticky underlying mess throughout your process! Discuss them with your photographer if you have any questions! Just ask and clarify! 🙂
  9. Make a list of all the people you want photos with. Start this out early because you will find yourself growing the list longer and longer. This helps assure that you will get these photos taken, or at least most of them! This gives you and your photographer a clear understanding of what you want and expect. (Ex: Photos with parents, whole family, each reception table, bride & groom solos, bride and each bridesmaid, etc.) Discuss this list with your photographer too, to see how reasonable it will be with the given time frames of your wedding! 🙂 Communicate! A photographer will usually ask for one, but if they don’t make one anyways!
  10. Give a schedule of the wedding to the photographer as soon as you can. Once you, or your wedding planner, have a set itinerary, make sure to give a copy to your photographer. This way they can understand where they have to be and how much time they have allotted to take photos! Make sure to set aside some time for bridal party and family portraits! Most people set this time between the ceremony and the reception! 🙂

Well, there you have it! Wedding photographers are responsible for capturing not only the moments of your wedding, but the story behind it as well. So, make sure you find someone that you TRUST!

Anyhow, thanks for reading the post! Hope it helps! Don’t forget to check out Margarette’s work on her website 🙂

Happy Wednesday!

<3,

Hannah

A Sweet Success: Agape 2013

IMG_0564

Hello Everyone!

As I said I would, I’m posting about the banquet that took place today at my church in celebration of Valentine’s Day. We call this annual celebration Agape Banquet, to celebrate the Christ- like love exemplified in the Bible! This year, the sisters served the brothers…and it was awesome! All glory to God for letting everything run smoothly!

Decorating for the banquet was quite fun, and I had help from three awesome girls: Jennifer, Lila, and Christina! Couldn’t have done it without them! It took a long, long time…and I wish I took pictures of all of it! For now, I’ll post what I have! I asked my pastor if he could take some more pictures for me on his very nice dslr camera 😉 So I’ll post those up once I get the photos from him!

I’m grateful for all the people that came and helped out with the banquet, and I’m grateful for all the guys that came out to encourage us. I think it’s so easy for me to forget that all of this– the decorating, the food, the people– is all impossible with God. I love how everything turned out; but as I was admiring how everything looked…I realized that I forgot why we do anything to serve others– it’s not just to have a successful event, or to feel good about yourself…but ultimately, it is all for God’s glory. Haha, sorry for that sobering reminder…but I need to do that to myself…and you to the reader…because it’s so easy to become prideful! I was just thinking this during dinner..and I wanted to write it down heh.

I thought that this was a great way for me to practice creativity while being resourceful. Our church has been suffering financially, so we needed to think of some thrifty/cheap ways to decorate, and I think we did rather well (PTL!). Sooo here are some pics:

IMG_0548

I used a lot of hemp string and streamer. I used the streamers to wrap around candles, and then I just wrapped hemp string around twice, and knotted!

IMG_0550

Yup! And then I cut up some streamer and used it as a confetti- type thing! Ahh, these pictures don’t do justice to the final product! T.T

IMG_0555

I had A LOT of help with making these pom-pom chandeliers from Jennifer and Lila! Didn’t they do an amazing job?? Gosh I loved how they came out! I’ll make a DIY tutorial for this soon because I think they’re pretty darn awesome 🙂

IMG_0552

My friend Nicole made these! They were beautiffulll! Tasty and beautiful…what more can you ask for? Pinterest worthy as my church girls and I said haha.

Okay well, more photos to come!! No event is possible on your own…gotta have an awesome team! And thank God for the team that I have in my church 🙂

Happy Saturday!

<3,

Hannah

In Honor Of Valentine’s Day: Pink Ombre

3fdf65255bbe8f99cc6e8cf103a575b4

Wow, I did not even notice this happening…but all my posts thus far have been in some shade of pink! It’s just unbelievably cute isn’t it? 🙂

I’m pretty sure all of you have seen the ombre trend taking over on sites like Pinterest. You can have ombre hair, ombre themed parties, ombre pieces of clothing…you can pretty much ombre-fy anything! And why not? It’s lovely! I’ve especially fallen in love with treats that embrace this particular trend, and I wanted to share a couple with you here!

1597bf7e624fcc40a106e86d1cc8a15a

db241a953e09617f98433f3a85294bbc

597e62fc0c8f368f0c64fbbac50507f5f2a2f3badf928c627f93da5c5d576809

I gotta try making those mini pink ombre cakes up top! Hopefully after this weekend…when I’m not super busy. With a final for school coming up, and a banquet to finish decorations for; there’s too much to do and not enough time!! Amidst all this business, my friend shared a quote with me: “Slow is smooth, smooth is fast.” So I’m trying to calm my brain and my heart down whenever I feel like things are a bit too much to handle. Looking at cakes sorta calms me too 😉

Happy Valentine’s Day!

Inspiration Board #1: Rustic Blush

20130213-150755

Here are the photos individually since the collage came out a bit smaller than expected :/ (sorry, I am really lacking in resources right now; bear with me!!)

25a080f0368556623771e1d70f273ff68b5b0f59b4ce193ab36982ab2aa8c27734e06f75acf3600dc8211d1153192d7a

img_2725$!x600424898_10100372733361535_580195022_n636709427586a212e71a032cc47a3f08b4ed4f678d07ffc24ceee8b6a09ecd77c75313269b23a3f7d4fbbafba73ec9a5

Color Inspirations: Blush pink, gold, and burlap

There’s something about burlap that gives any event the rustic feel. I love having an ethereal touch to weddings, and I think blush pink does just that! Gold, I think, just adds a natural touch of elegance (when used correctly…sometimes…it just looks weird lol). I’d honestly imagine my wedding to be something like this 🙂 Something soft, elegant, and homey– all at the same time. I hope you guys love it as much as I do!

<3,

Hannah

Photo sources:

bridalmusings.com, alabamafarmadventures.blogspot.com, stylemepretty, lover.ly, marrythewedding.tumblr.com

P for Pom Poms!

IMG_0520

Excuse the poor photographs! I’ll start taking better pictures once I get a digital camera in my hands again. For now, I’m relying upon my iphone! Alright, so I don’t know about you guys, but I have a thing for pom poms. I love them! I think they make any event festive and fun! The ones you see up on top are a couple that I made for a banquet coming up for my church (in honor of Valentine’s Day). We call it Agape Banquet, to celebrate the love of God 🙂 I’m really excited about this event because I’ve been put in charge of decorations! I’ll make sure to post up pictures of the event after this Saturday 🙂

Pom poms aren’t difficult to make, but they do require some time. I think the most challenging part about making the pom poms is definitely the fluffing, so take your time on that part! But once you get the hang of it, it’ll be easy and somewhat stress relieving haha.  Anyhow! Here’s what you need to make pom poms!

Materials:

Tissue paper– as many packs as you need (this would depend on how many pom poms you need, and how big you plan to make them)– you can get tissue paper at Big Lots for $1!!

Scissors

Floral Wire (the really thin kind!)

Ruler

Directions:

1. You want to cut your tissue paper however big you would like your pom pom. I cut mine 12×10 and it came out to be a nice, small-medium sized pom pom. You want to layer at least 6 pieces together if you’re doing the size I made.

Cut your tissue paper!

2. Fold the tissue paper accordion style

IMG_0522

3. Wrap floral wire in the center of your folded tissue paper. You should be able to find floral wire at any Michaels or Joann’s nearby.

IMG_0523

4. Round out the ends (hehe, I got Samson in the picture!)

IMG_0528

5. Begin the fluffing process!!!

IMG_0530*** I found that your pom pom comes out a lot prettier if you alternate your fluffing from both sides. So fluff one layer from the top, then fluff one layer from the bottom. 🙂

6. Fix up your pom pom, and you’re finito! (Got Lola in this time!)

IMG_0534

See! Simple and fun 🙂 You can make a whole bunch and hang the pom poms banner-style around the room; or hang them from the ceiling. I plan on doing the latter this time around. Anyhow, I hope this was helpful. Have fun!

IMG_0519

<3,

Hannah